How to root Google Nexus 4? You can easily find lot of guides and videos about it on Internet. Being a Google developer smartphone, rooting Nexus 4 can be done in simple way. In short, just unlock Nexus 4 bootloader. Then root it. That’s all. Simple, right? Yes, with the correct tool and drivers. It is not mission impossible to do so.

Prerequisites
- Google Nexus 4 ToolKit
- Nexus 4 ADB & Fastboot drivers
Note – Unlock LG Nexus 4 bootloader will delete everything on your Nexus 4. Do backup all your data first. And make sure that Google Nexus 4 ToolKit and Nexus 4 ADB & Fastboot drivers are installed properly. Do refer to those guides before process to root Nexus 4.
As for this root Nexus 4 guide, we are going to install SuperSU, ClockworkMod Touch Recovery and Busybox. I will skip some of the steps in Google Nexus 4 ToolKit due to different each person system configuration like Windows version. Just follow the on-screen instructions, you will get it. No worry…
How to root Nexus 4 ~ 1 click method?
- Boot into Nexus 4 Fastboot Mode.
- Connect USB cable to Nexus 4.
- At Google Nexus 4 ToolKit, select 8. 1-CLICK FOR ALL.
- Select Yes to continue.
- At Nexus 4, select Yes – Unlock bootloader (may void warranty) with Power button.
- Your Nexus 4 bootloader will be unlocked.
- Then a fresh Android OS will be loaded.
- Follow on-screen instructions to setup it.
- Enable Nexus 4 USB Debugging Mode.
- System will start to root Nexus 4 with SuperSU. And push Busybox to it. Then install CWM Touch Recovery.
- Remove USB cable after Android OS loaded.
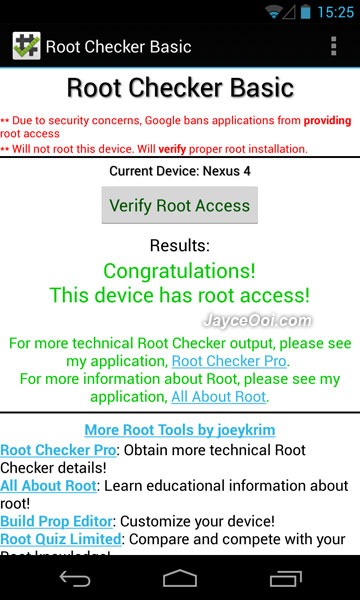
- You should see SuperSU app installed.
- That’s all.


